Enviroment used: JDK 6, Eclipse Mars (4.5.0), Apache Tomcat 8.0.36, Windows 10
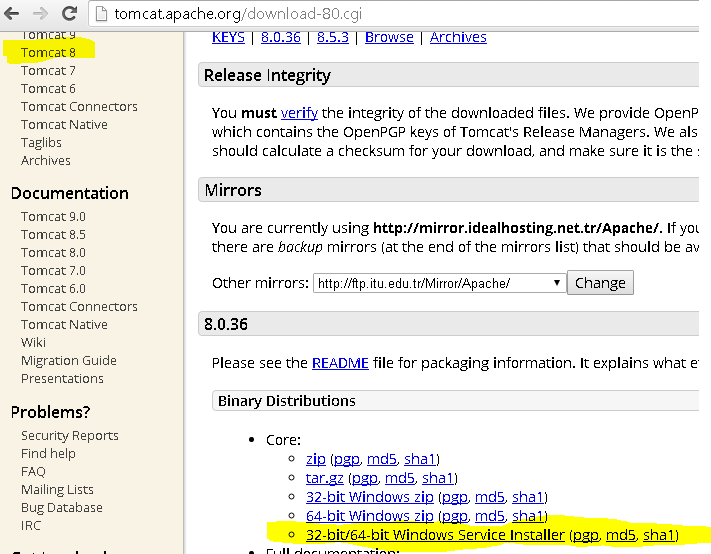
1. If you need to install Tomcat, you can download it from this location. I use “Apache Tomcat 8.0.36″ version.

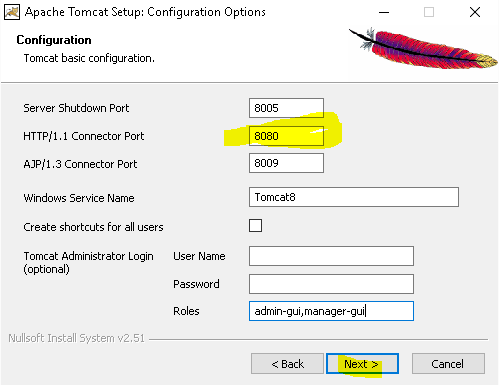
2. After downloading installer (.exe) file, double click on the file. Follow the steps below to install:


The default port number to process HTTP requests is 8080. You can change the port number in this step or change it later after the installation in server.xml which iss located in


Open browser and type http://localhost:8080.Home page as shown below.

Configure Tomcat:


Open Control Panel\Administrative Tools and double-click on Services.
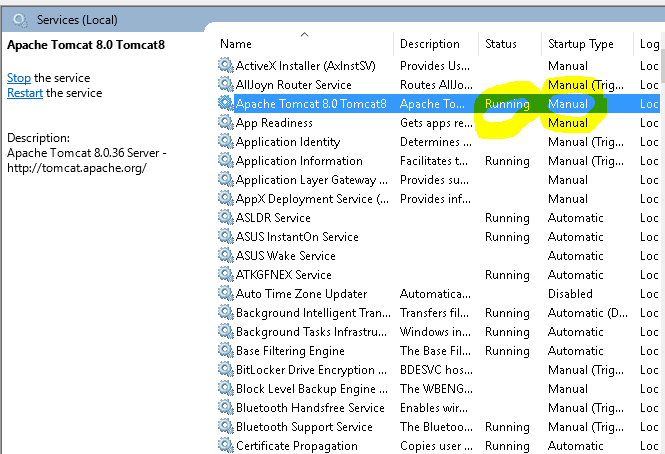


Then --> Next --> Finish. Right-click on the server and start and stop it to ensure its proper working.

After starting the Tomcat, open browser and type http://localhost:8080. You should see the Apache Tomcat home page.
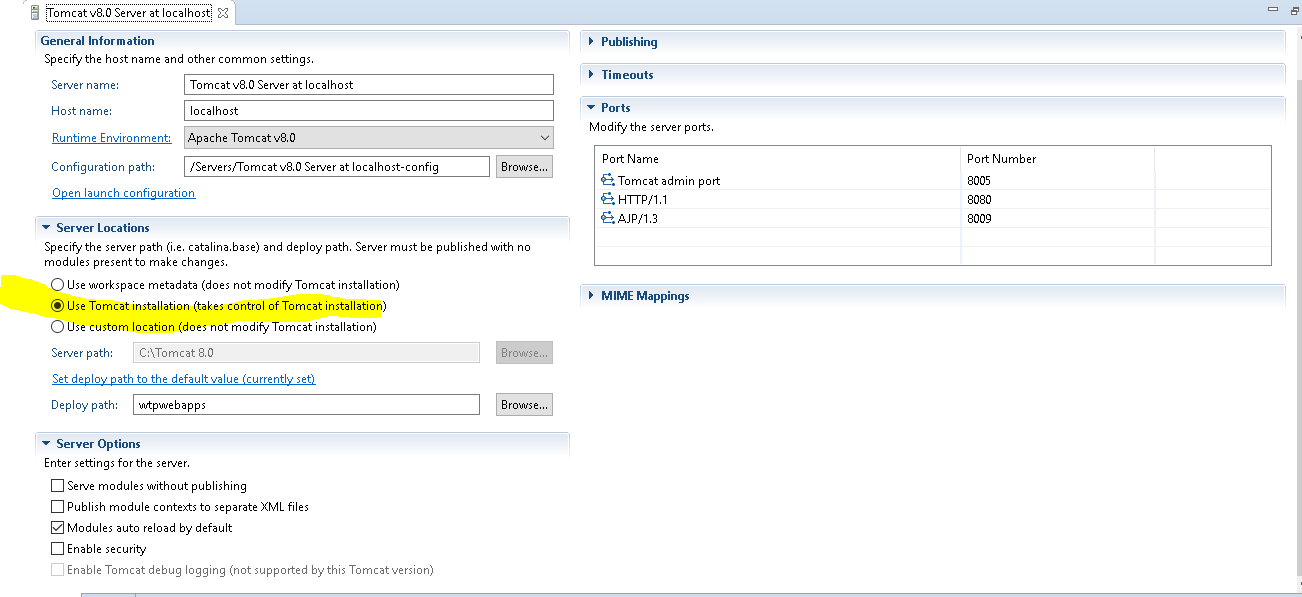
PLUS: Tomcat started in Eclipse but enabled to connect to http://localhost:8080. Double click to the server. In server location choose "Use Tomcat installation.."
No comments:
Post a Comment